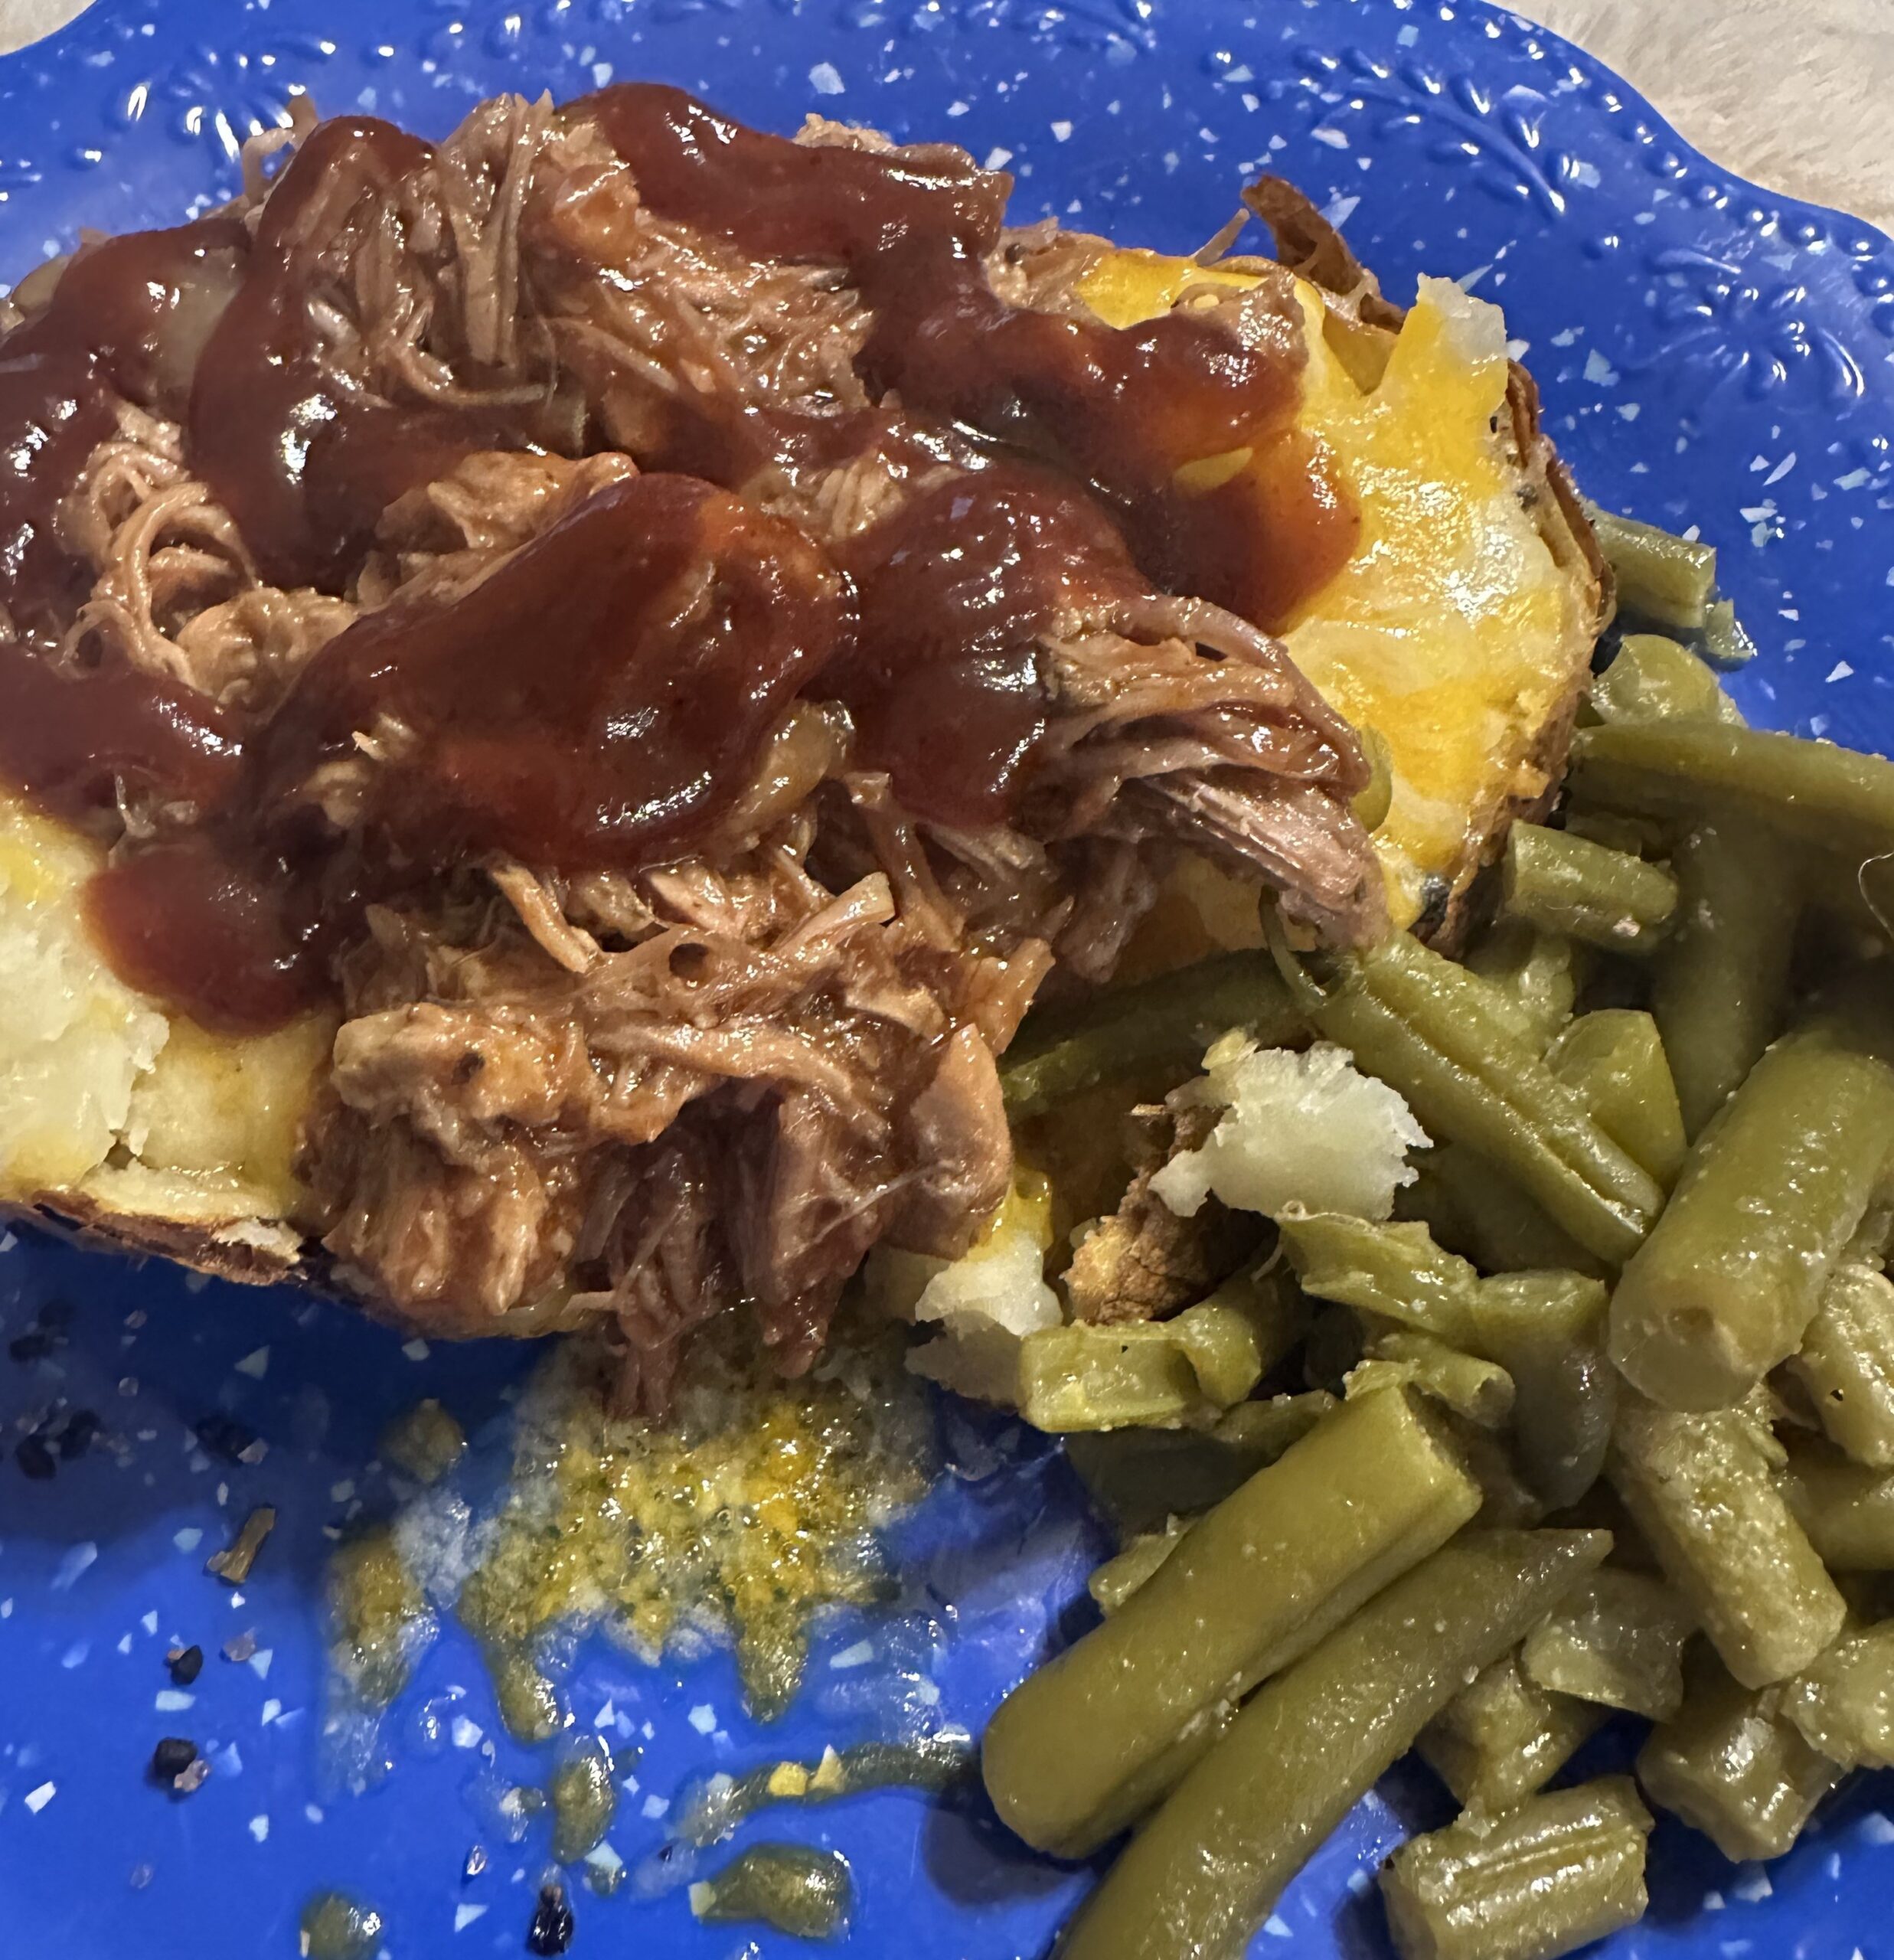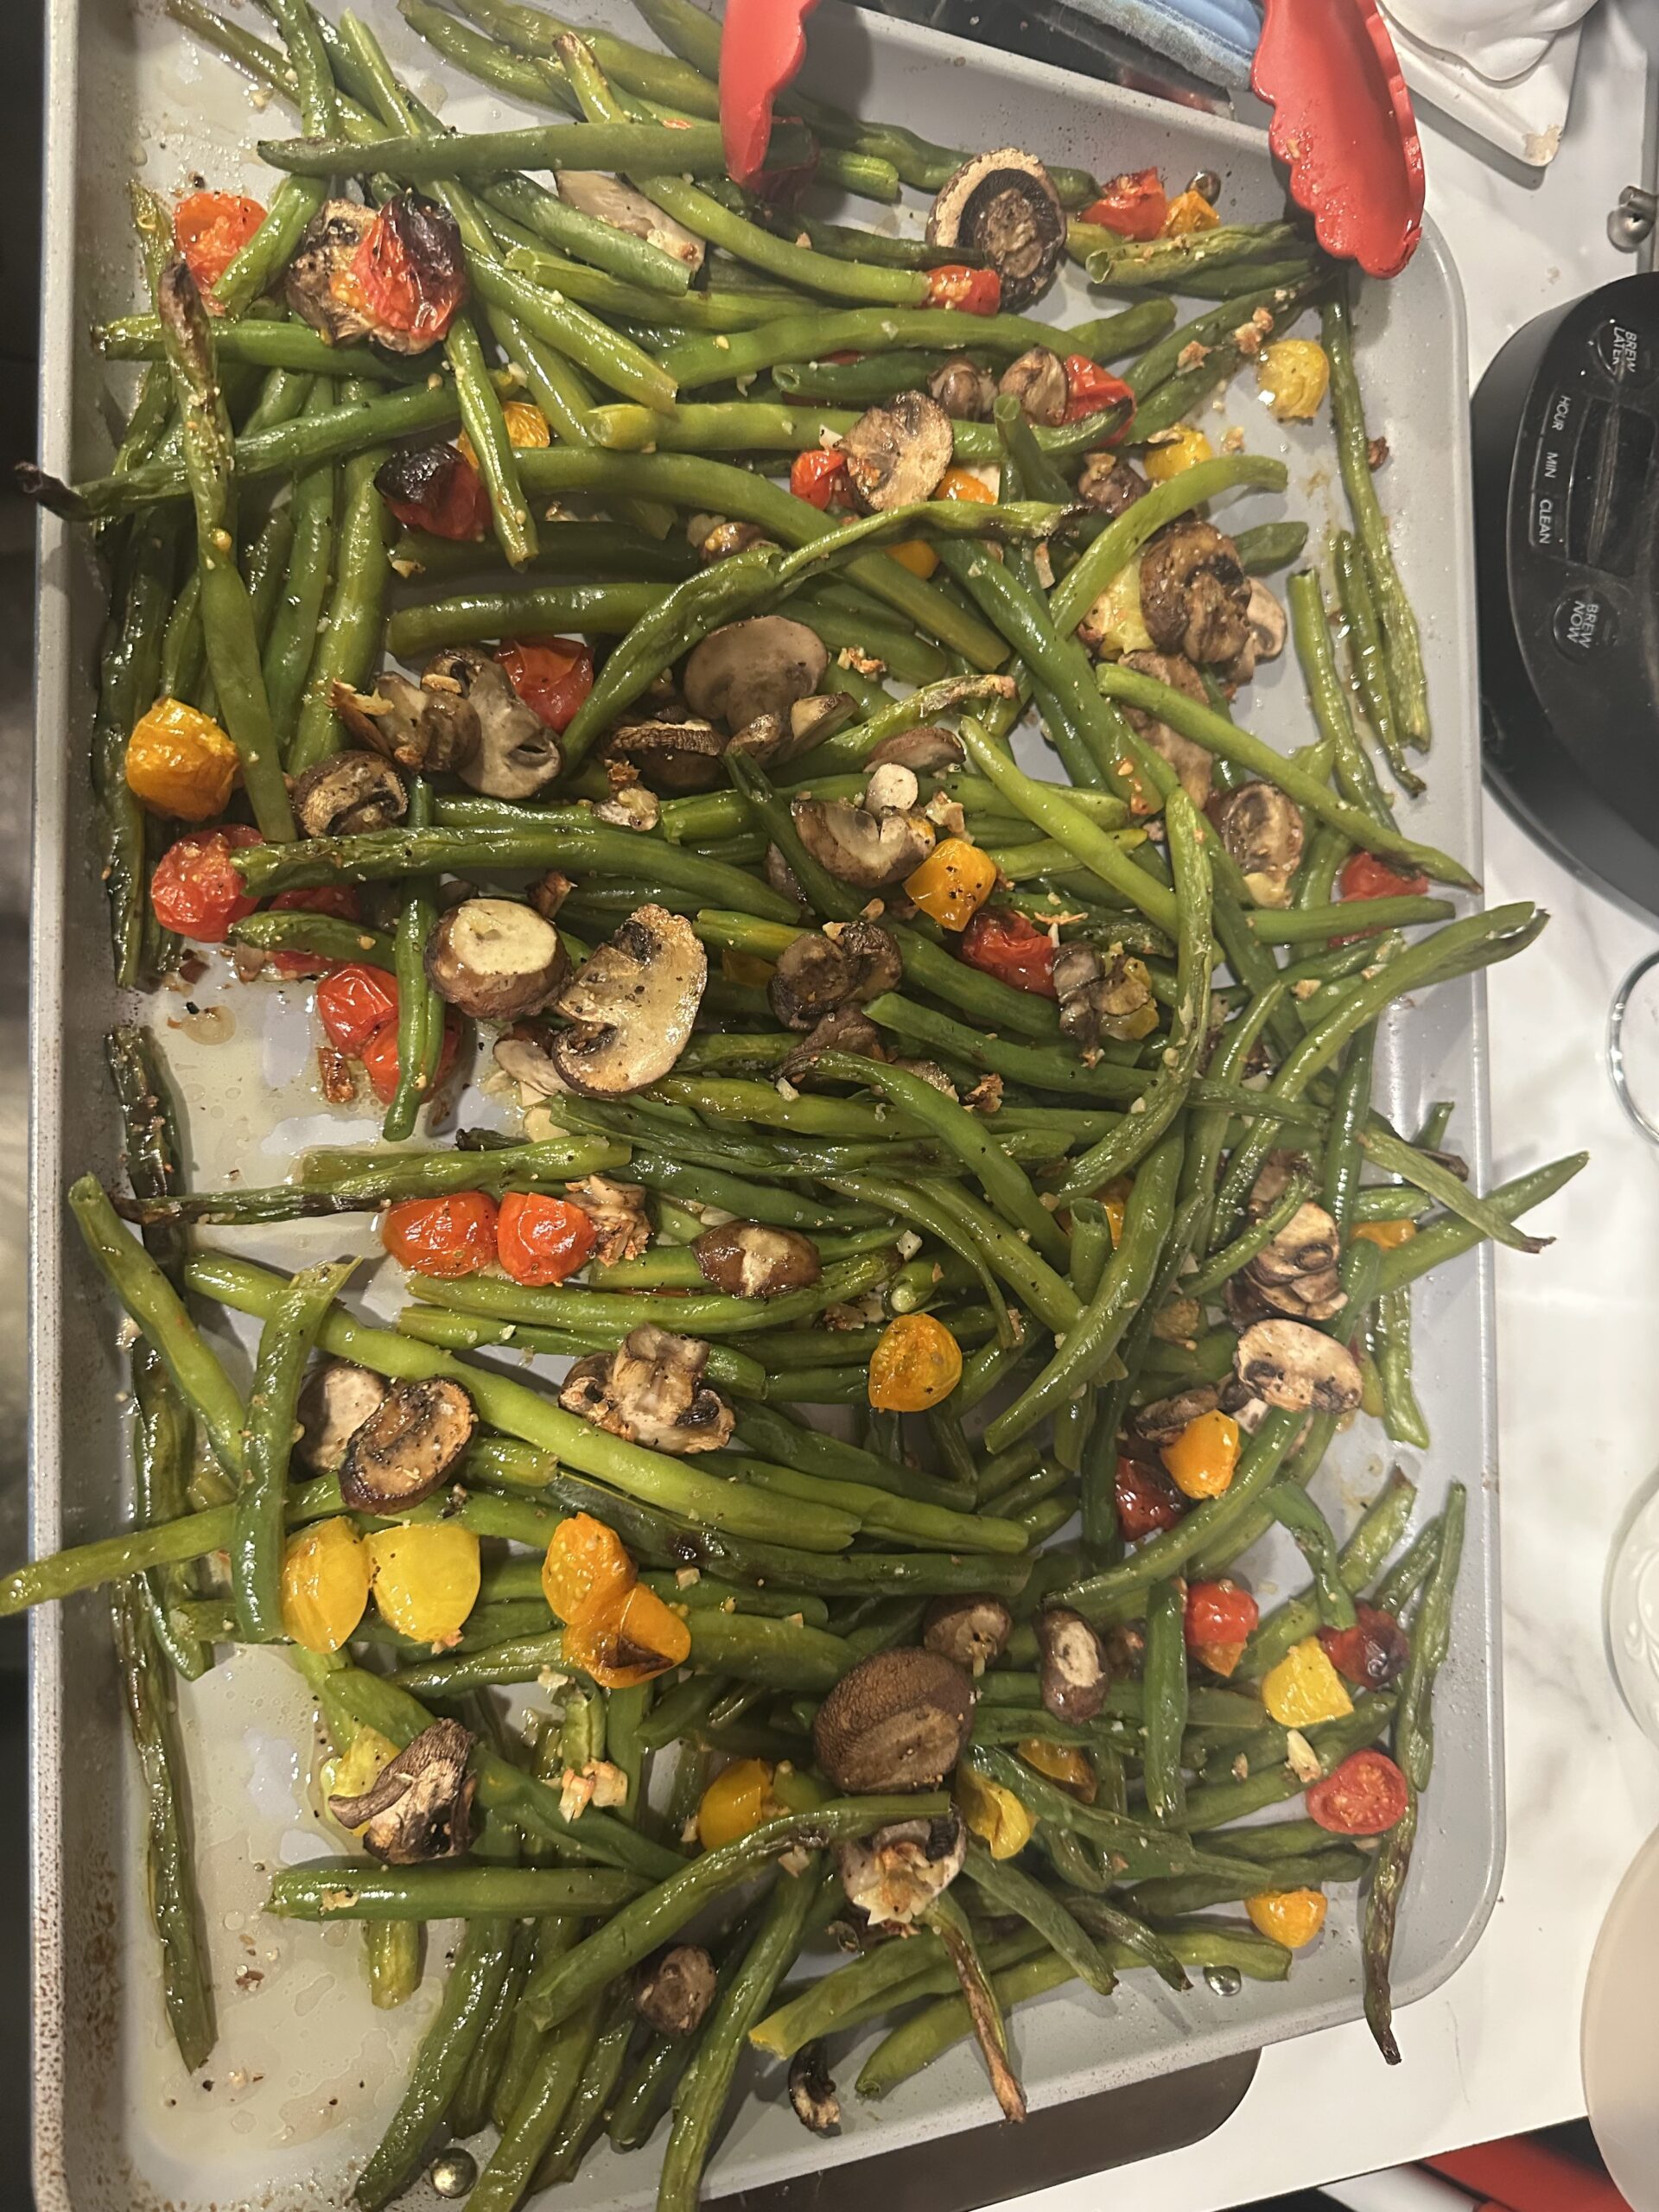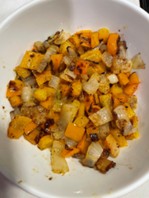

Enchiladas are a delightful and comforting Mexican dish that can be transformed into a satisfying full meal. Pair the savory enchiladas with fluffy Mexican rice and a colorful selection of roasted vegetables for a well-rounded and nourishing dining experience. If you are making these for dinner you'll want to make extra because they will be gone in no time.
Why This Chicken Enchilada Recipe Works
- The chicken pairs well with the cream sauce making sure it is not too spicy.
- These enchiladas come together in no time with the help of precooked chicken.
- They pair well with rice, beans, and vegetables to make a complete meal.
Recipe Ingredients
Chicken - The star of the show, use precooked chicken, chicken breasts or thighs and season with spices for a flavorful base to the dish.
Cumin - Adds that Mexican flare to the dish, don't be shy, add a hearty amount for good flavorful chicken.
Coriander - Adds more Mexican flavor. Did you know that coriander and cilantro come from the same plant? Cilantro is the Spanish name for coriander seeds. For more history and nutrition information click here.
Garlic - Lends great flavor to the dish complimenting the coriander and onion. For more history and nutrition information click here.
Onions - Lends great flavor to the dish complimenting the coriander and garlic. For more history and nutrition information click here.
Olive Oil - A healthy fat option for cooking the chicken in. For more information on the health and nutrition information click here.
Green Chiles - Used a lot in Mexican dishes, is a great way to add flavor and spice to a dish. Get them mild or spicy to your preference.
Flour Tortillas - The base for the dish. They are soft, fluffy, and tender in the dish. They provide structure and keep the servings individualized for perfect portion control.
Monterey Jack Cheese - Nice and creamy, and it keeps the chicken, onions, chiles all "glued" together in the tortillas.
Campesino Cheese - The perfect addition to the Monterey jack cheese. It melts beautifully and has a mild flavor so that the spices in the dish can shine through.
Butter - provides the fat needed to make a roux, which builds the structure for the queso.
All-Purpose Flour - Along with the butter it provides the starch that is needed to make the roux, the base for the queso.
Half and Half - Provides the creaminess to the queso. It will thicken when added to the roux making it a structurally strong sauce. Add the cheese once the dairy has thickened and come to a bubble.
Directions
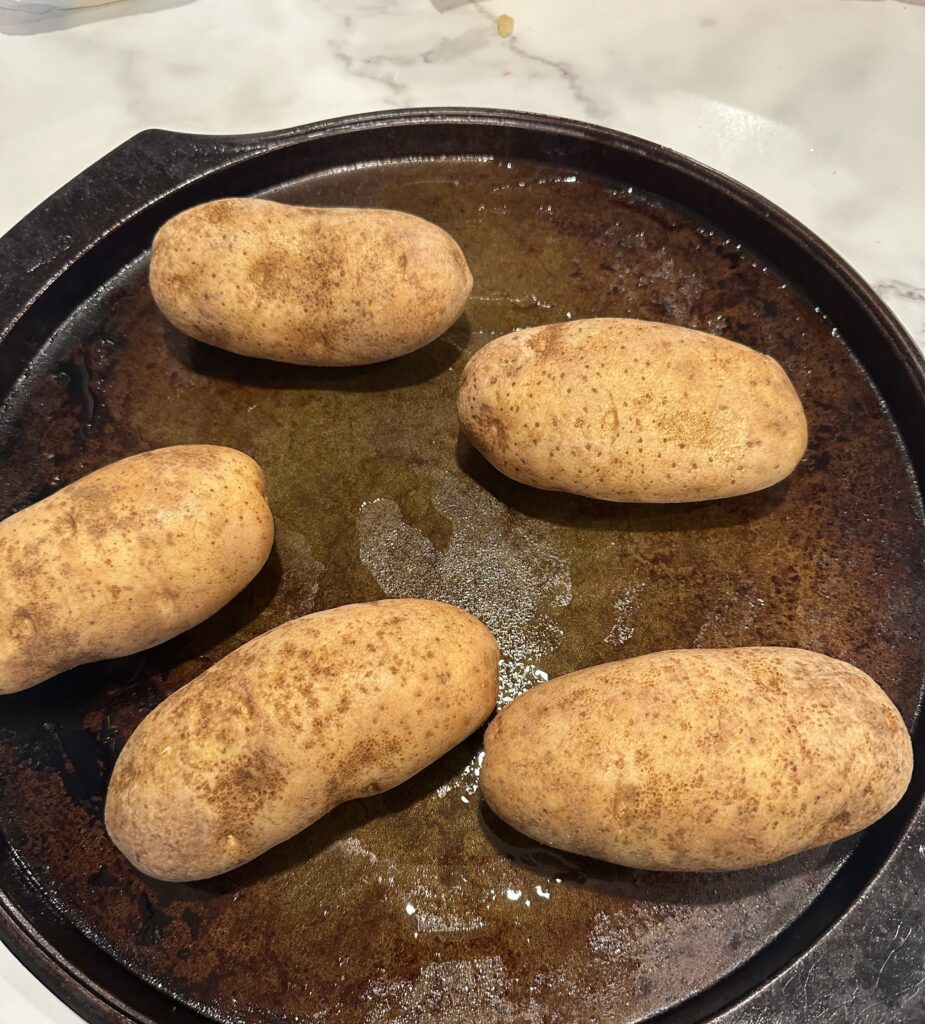
Preheat oven to 400 degrees Fahrenheit. Spray a 9x13 baking dish and drizzle two tablespoons of the olive oil in the pan.
Make the Chicken
Mix all seasonings together.
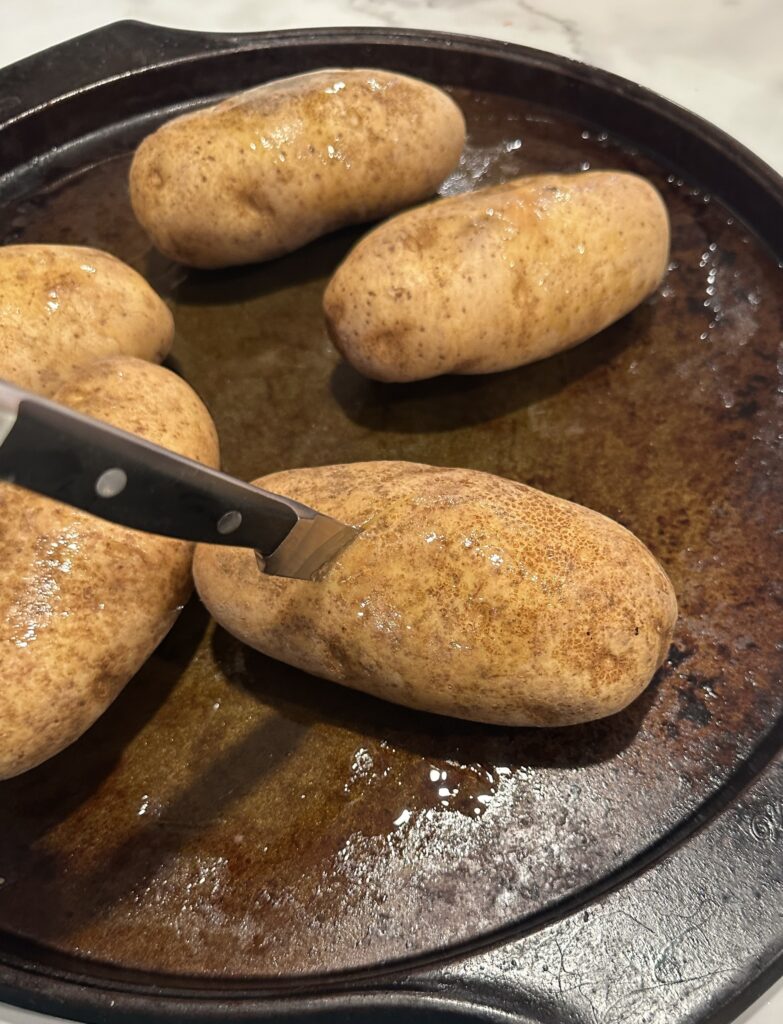
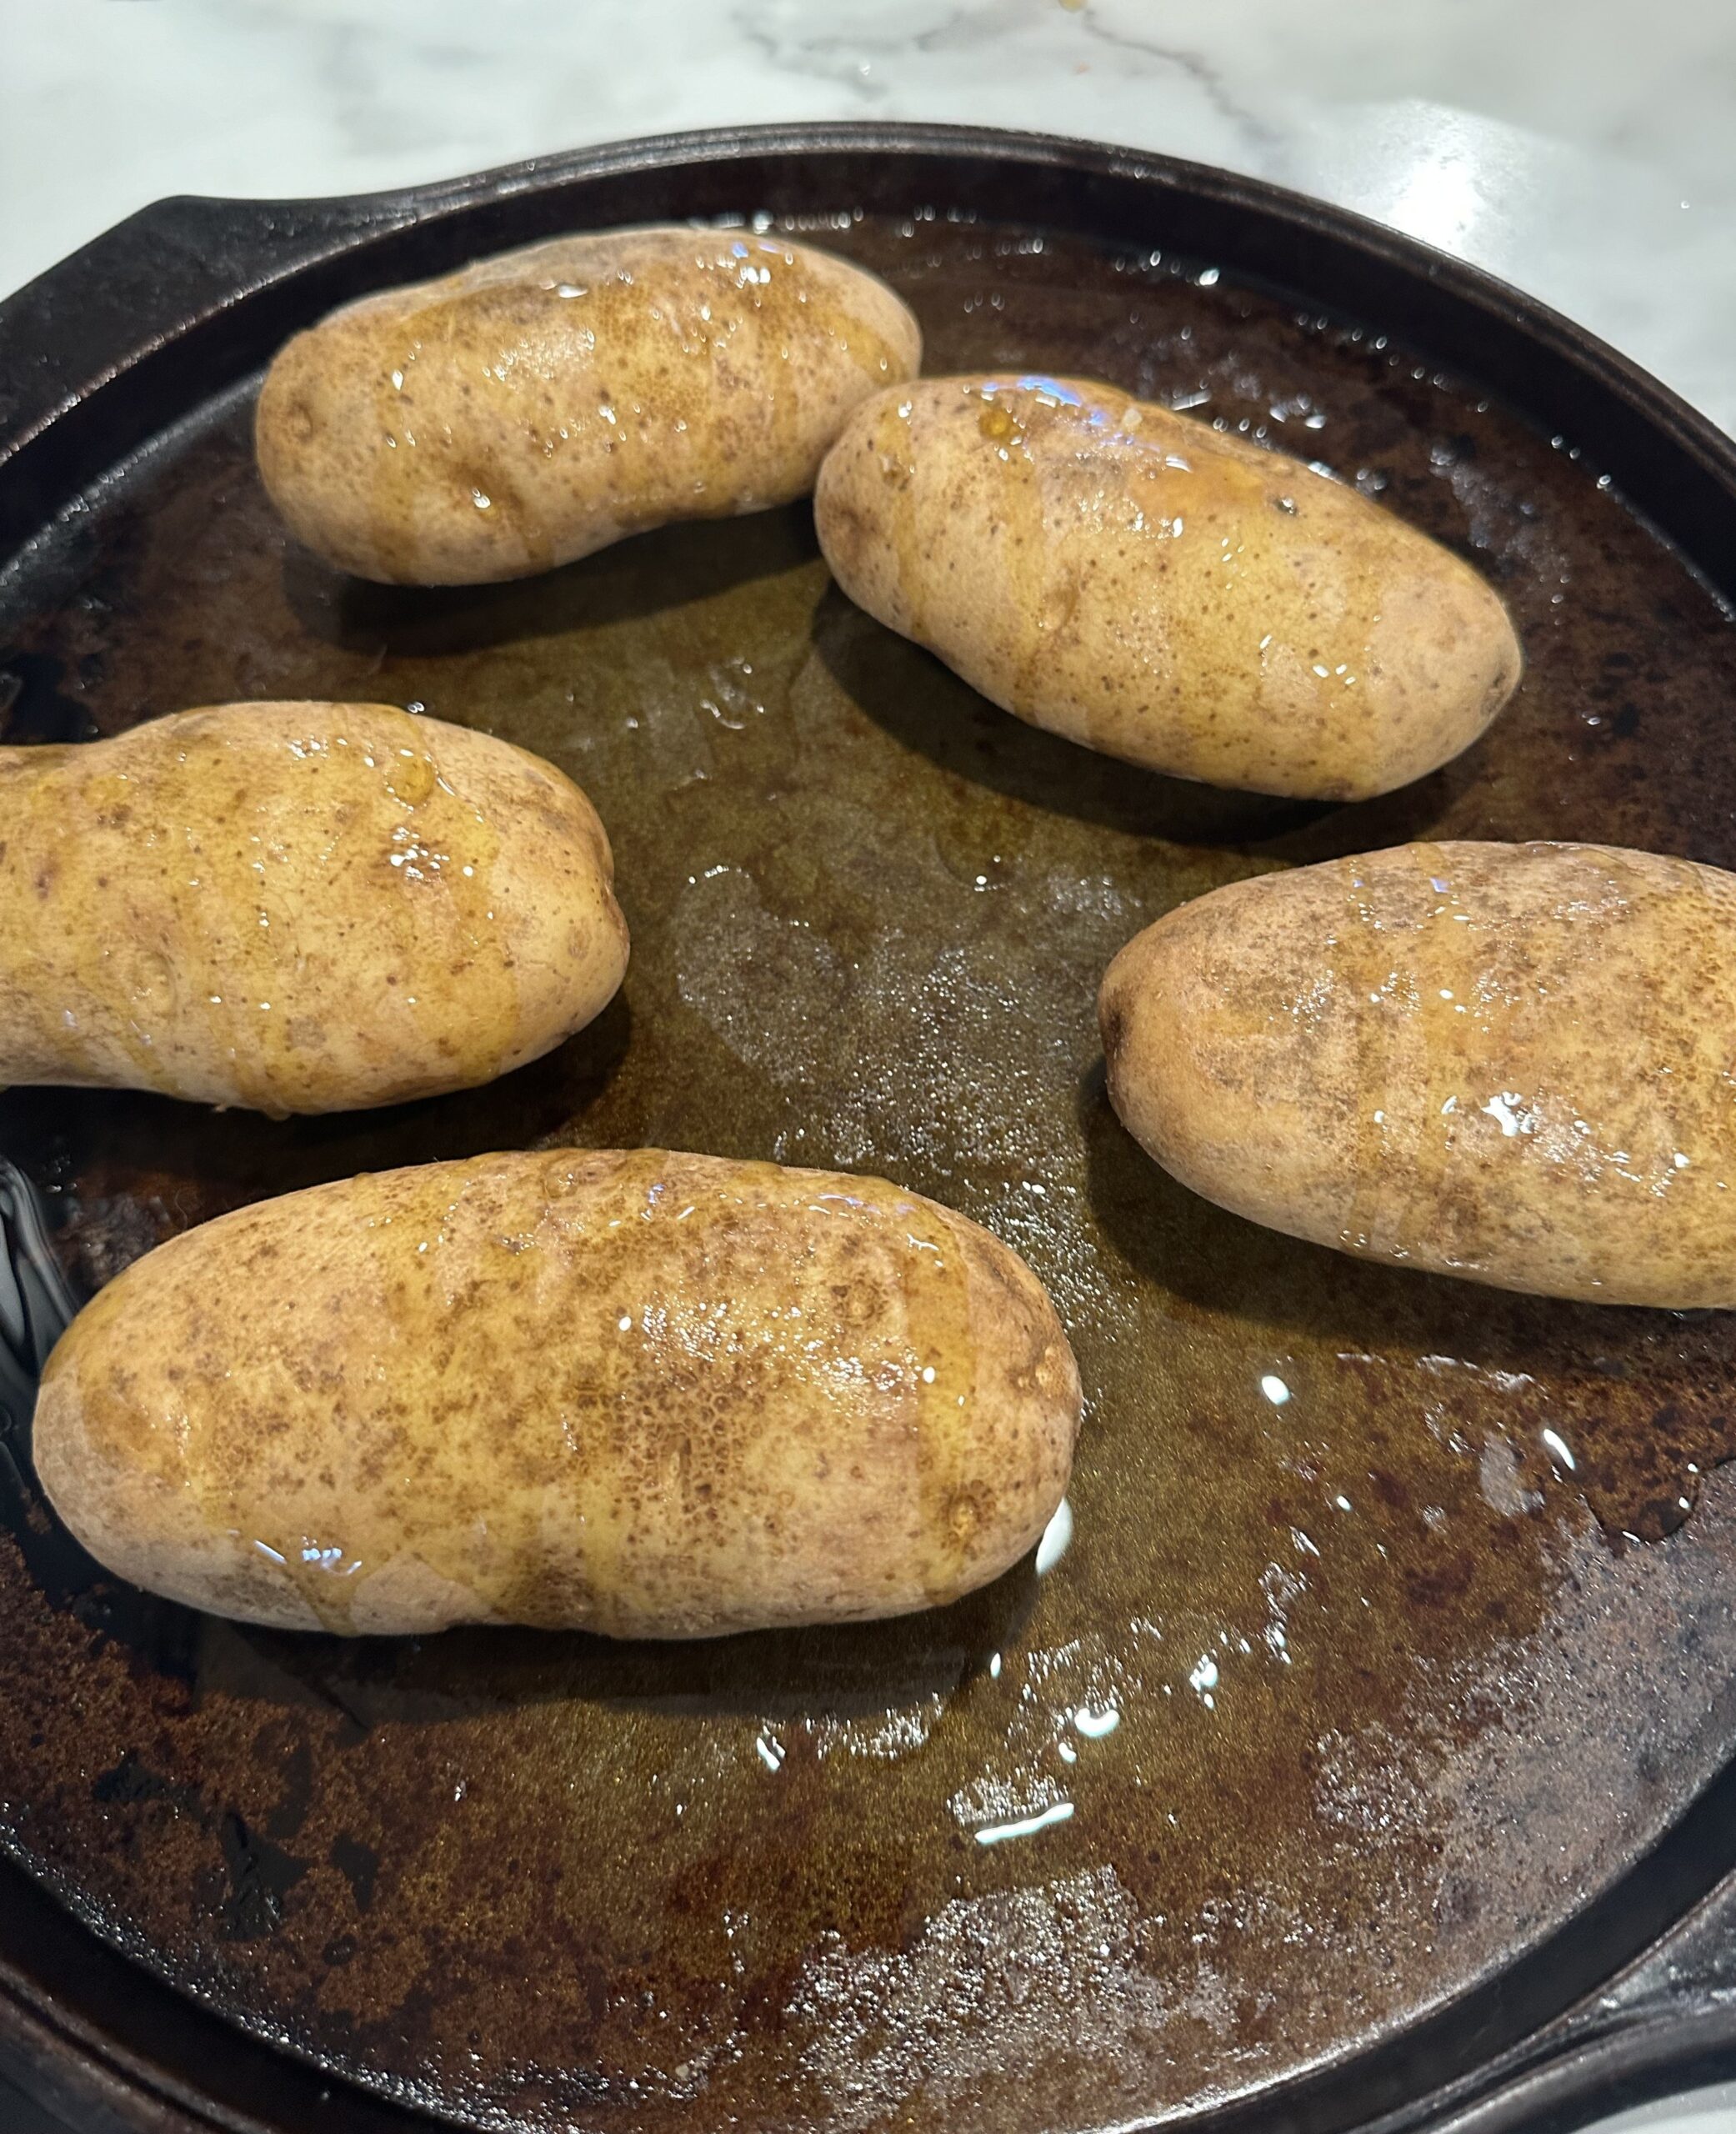
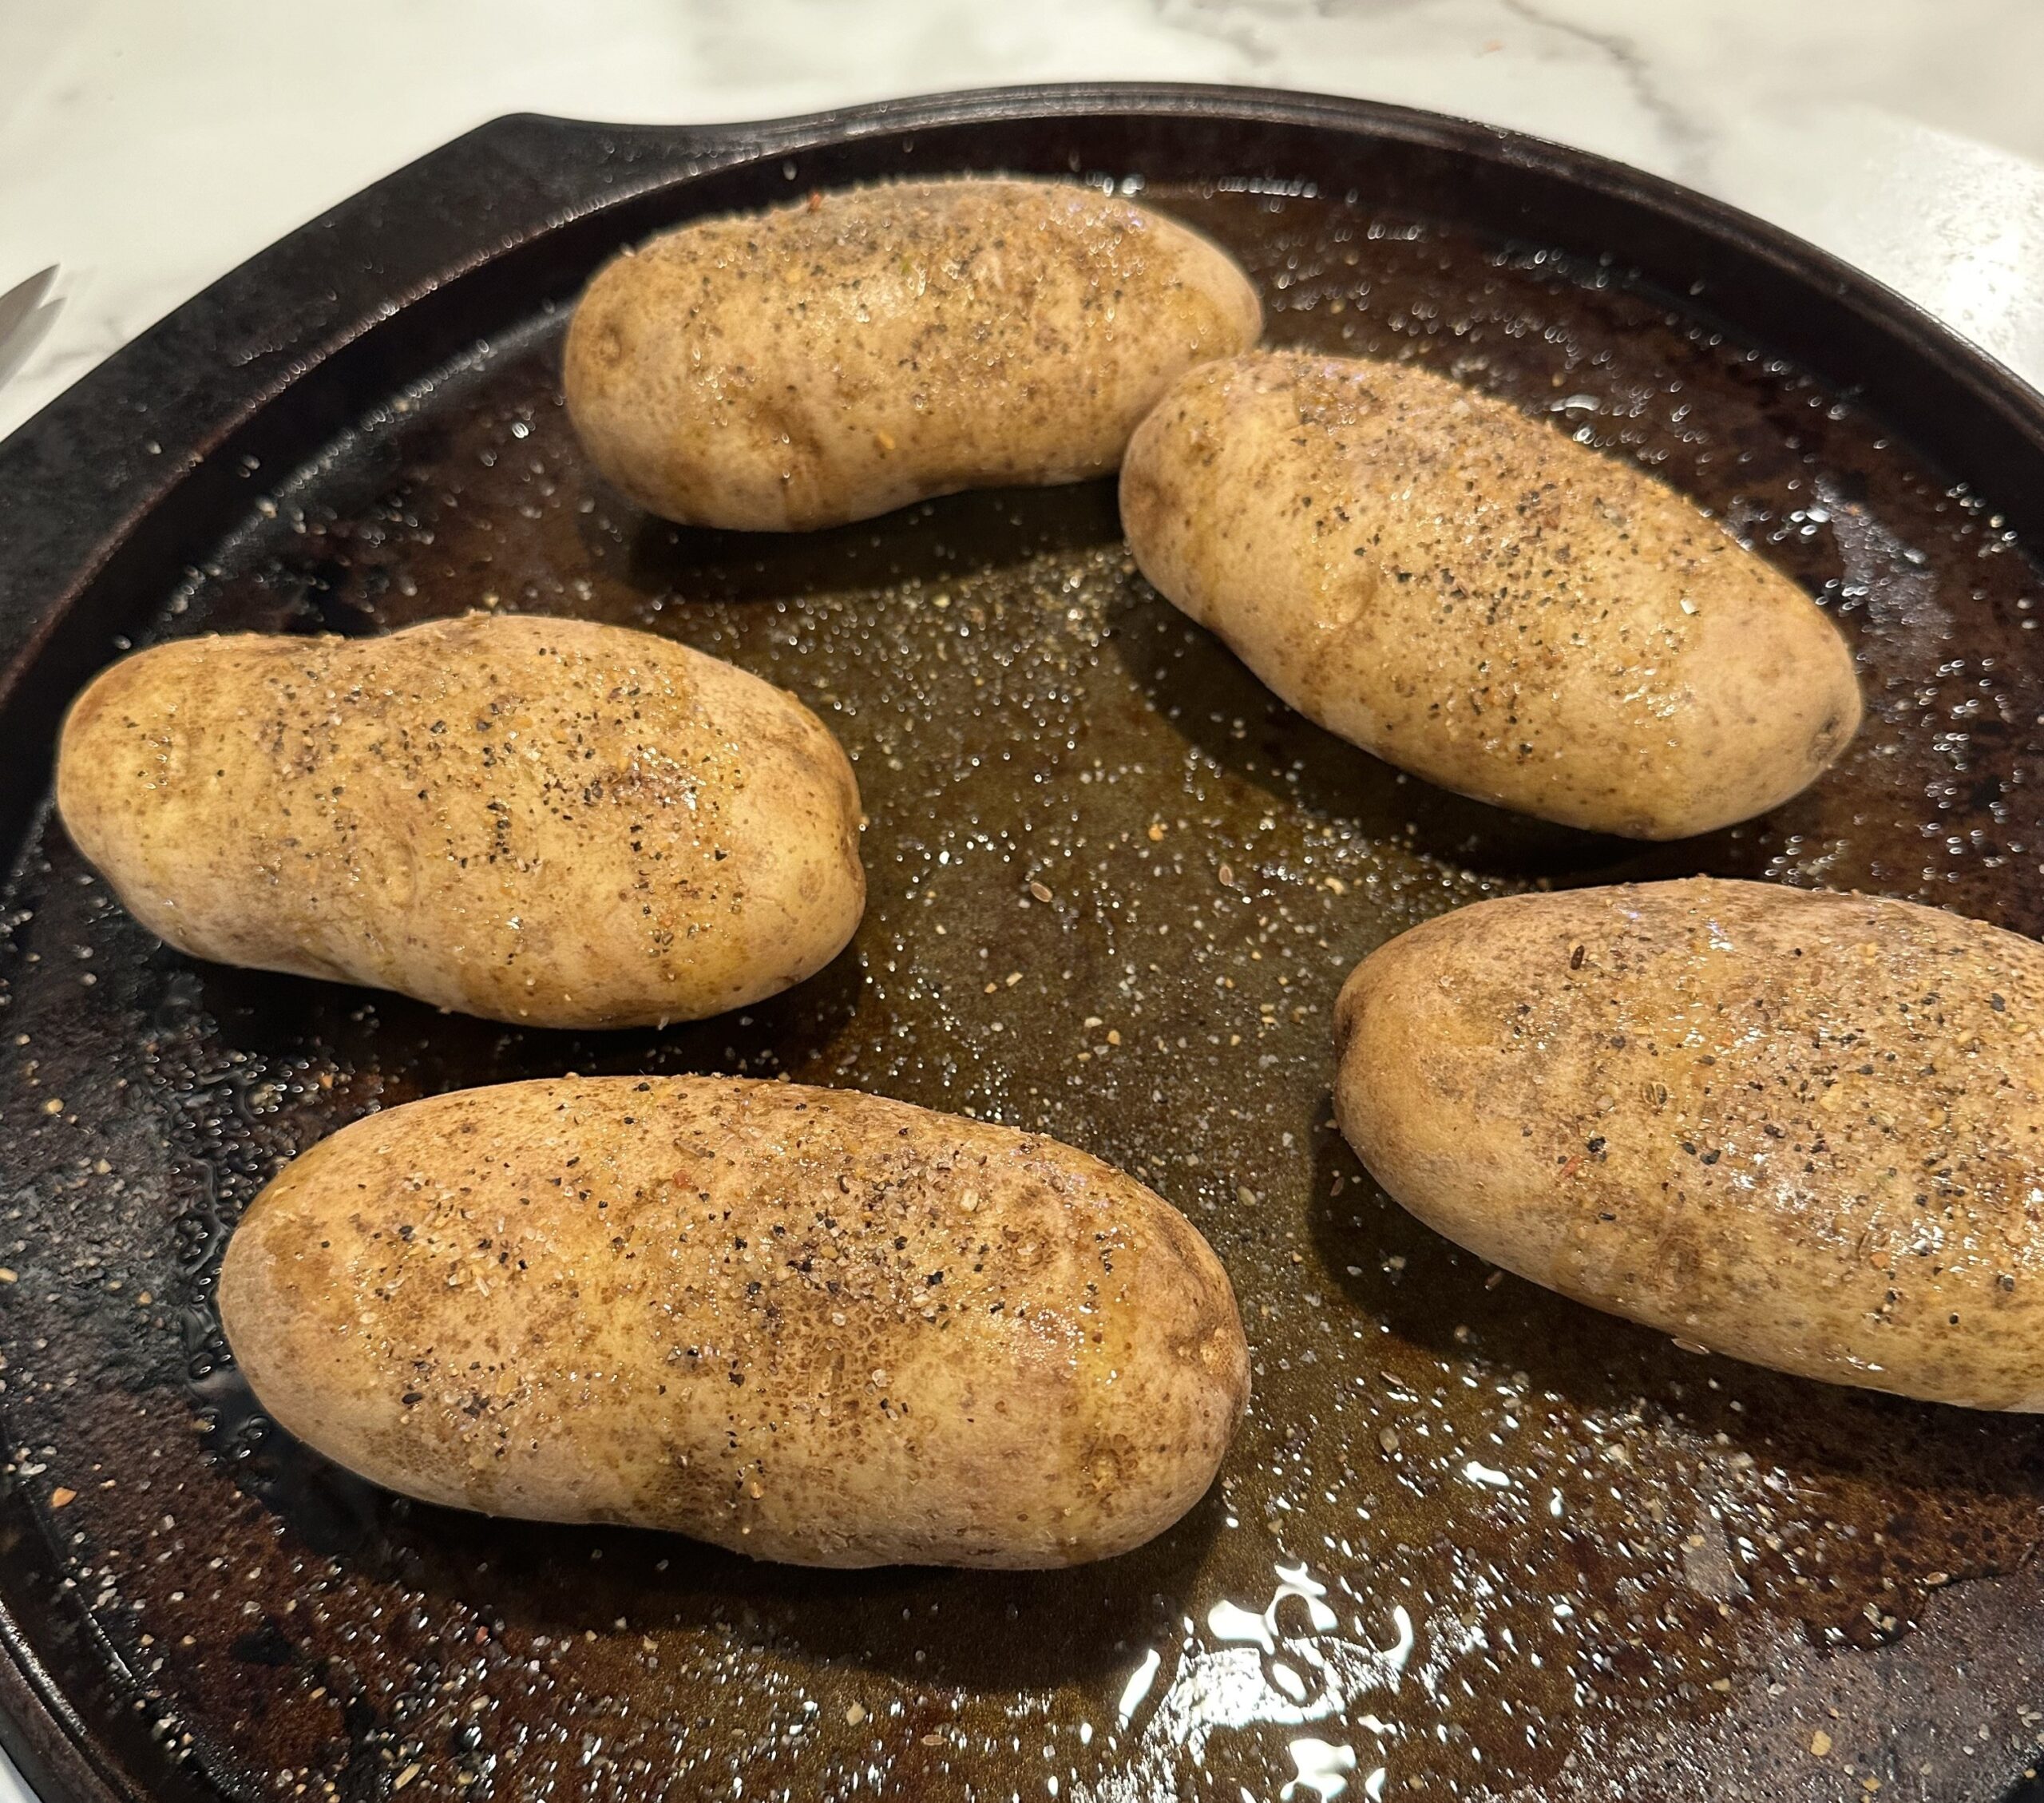
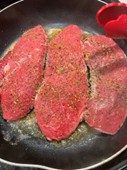
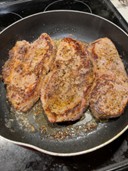
Place chicken things upside down in pan and sprinkle with seasonings.
Flip chicken over and sprinkle with remaining seasonings.
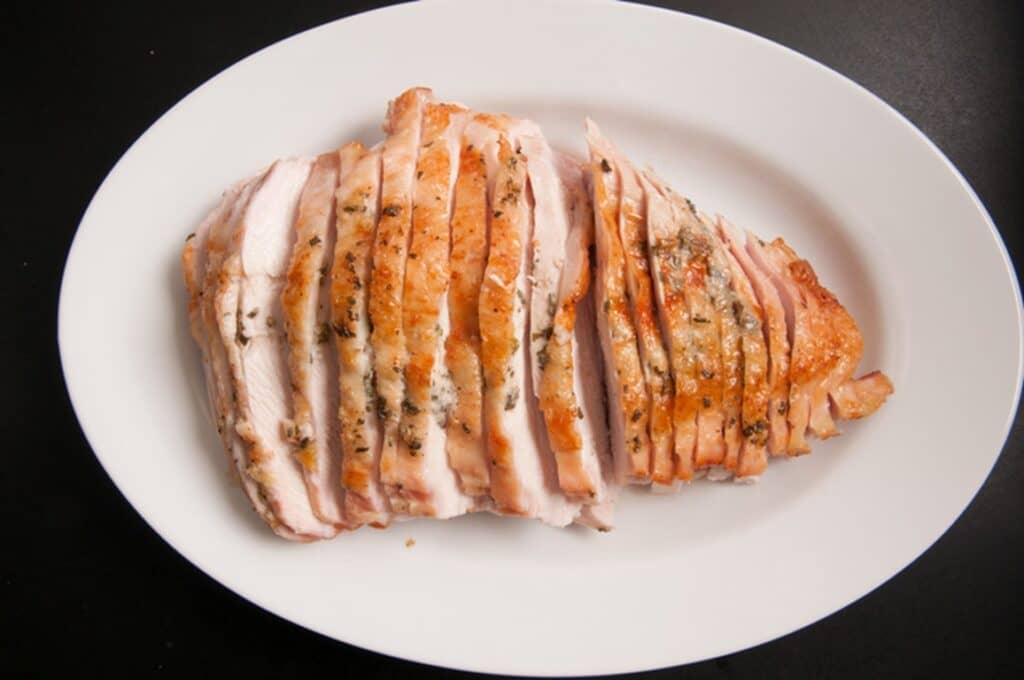
Place in oven for about 40 minutes, until the internal temperature reaches 165 degrees Fahrenheit.
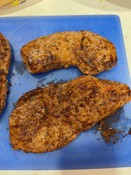
When done, take out of oven.
Once cool enough to handle, shred chicken and set aside in a large bowl.
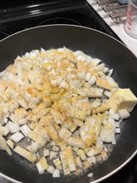
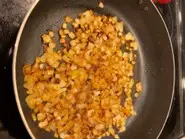
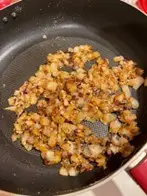
In a skillet drizzle in the remaining two tablespoons of olive oil and heat over medium-high heat.
Add onion, season with salt and pepper, and granulated garlic powder, cook until onions are translucent.
Add onions and green chiles to shredded chicken.
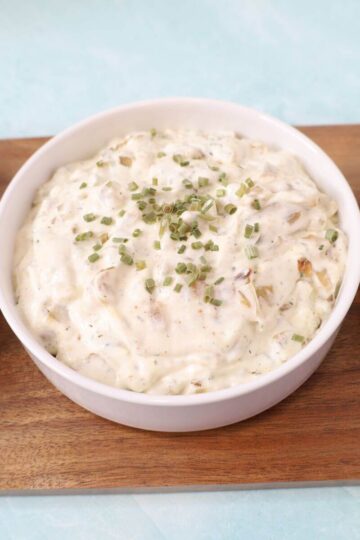
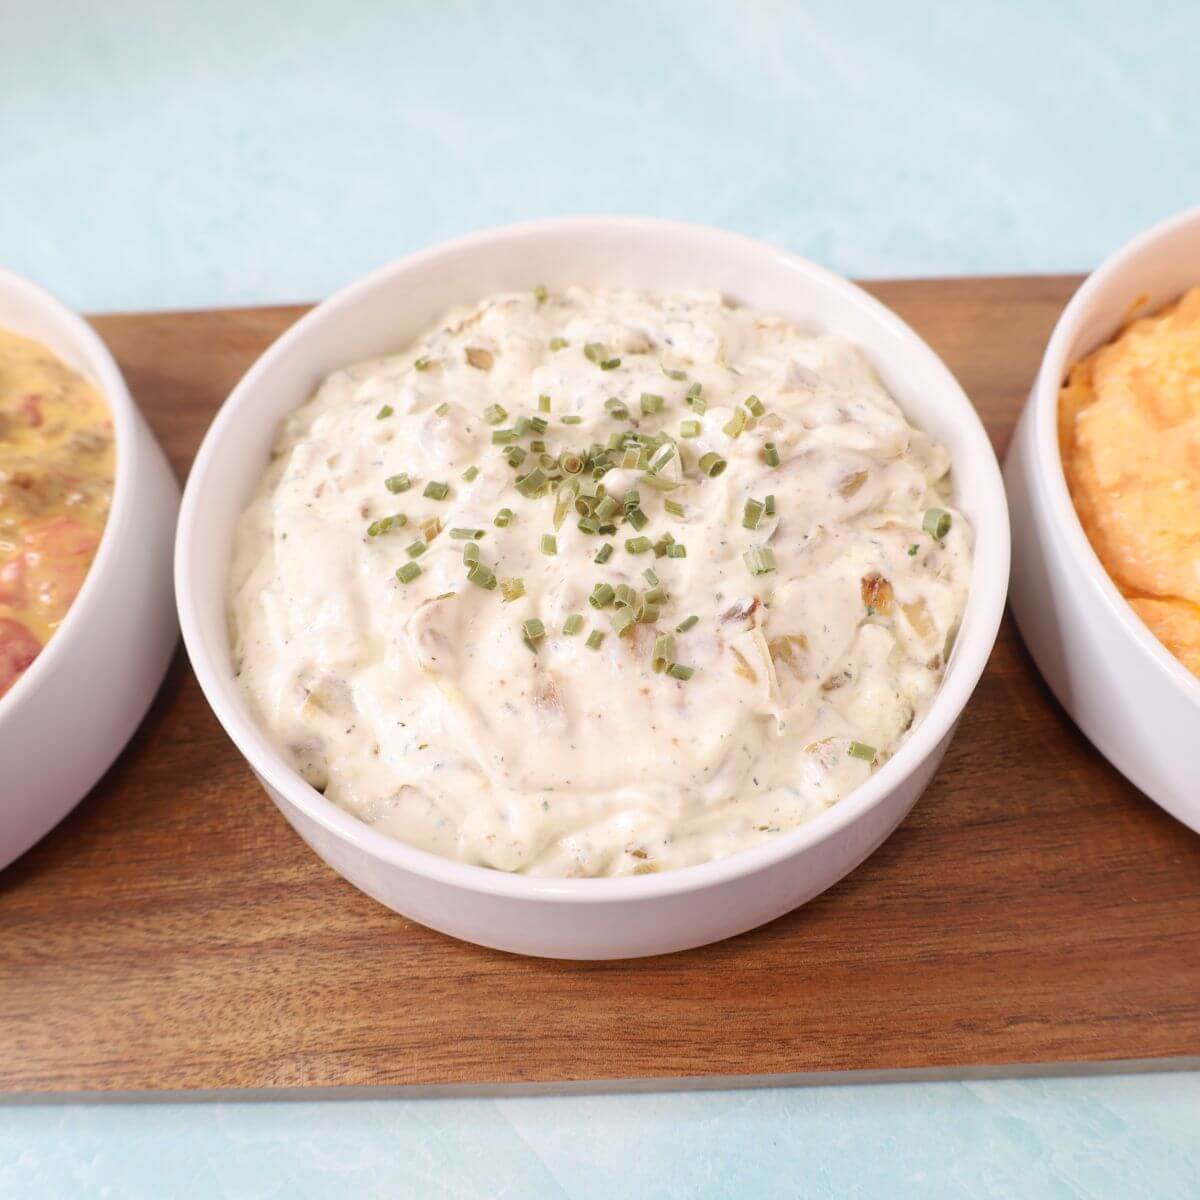
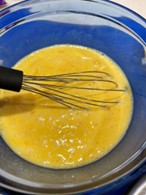
Make the Queso
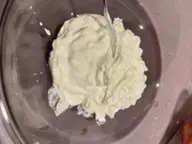
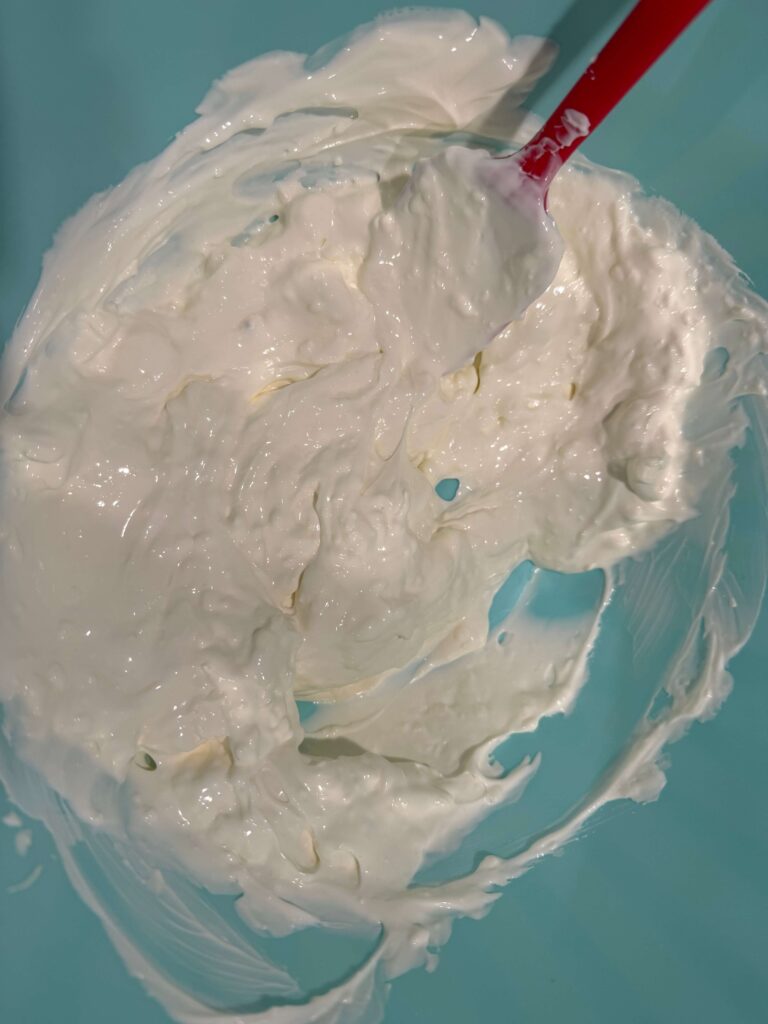
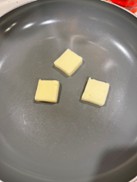
Place butter in a medium sized saucepan over medium-high heat.
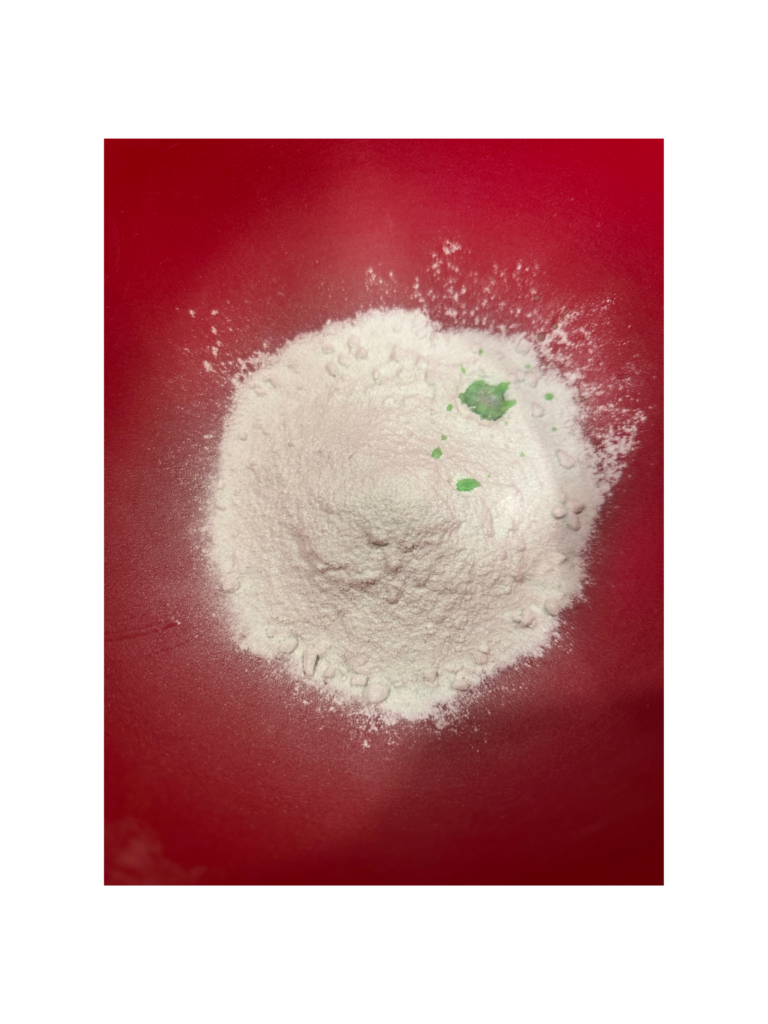
Once melted stir in flour.
Let cook for a couple minutes while stirring occasionally.
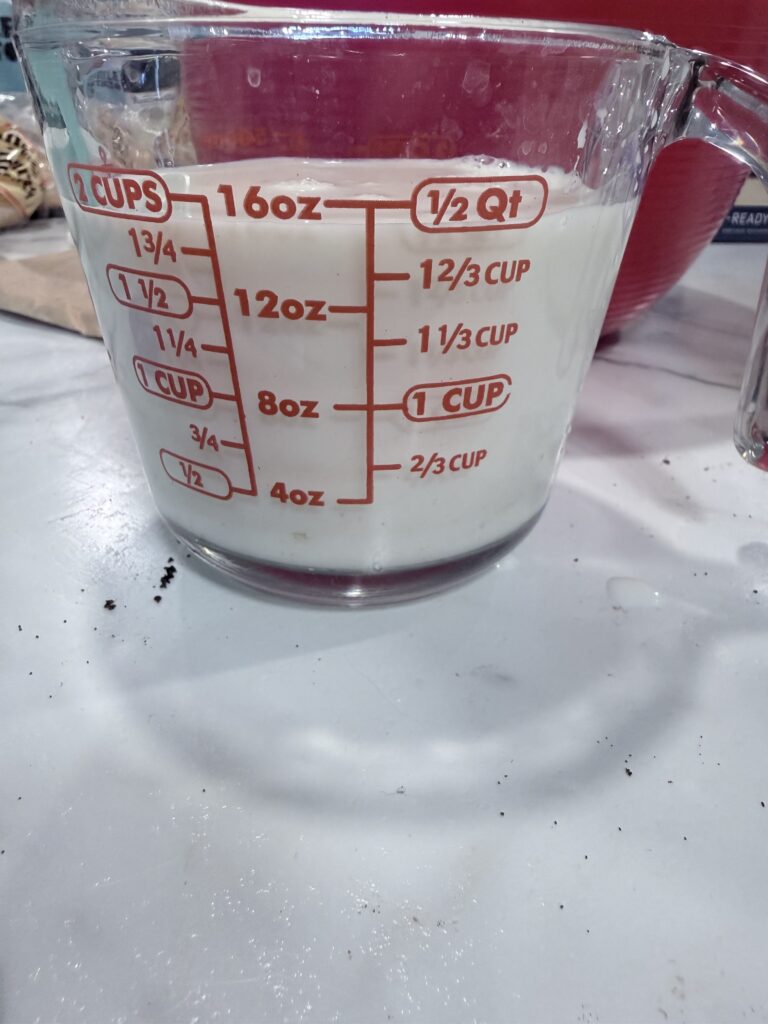
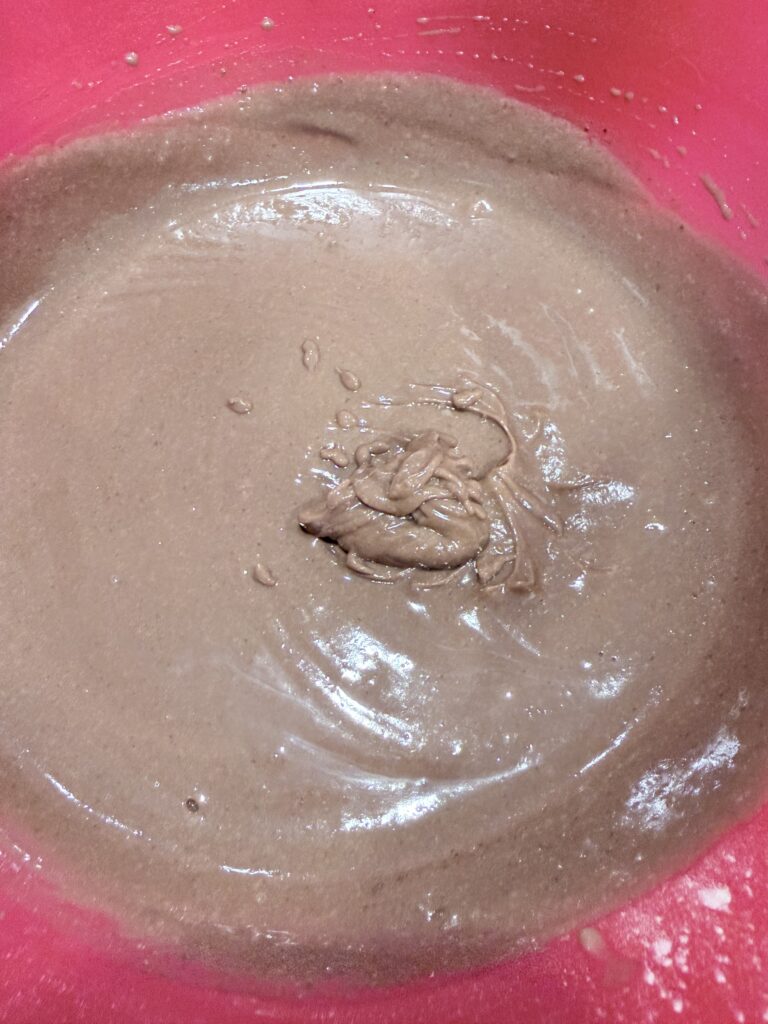
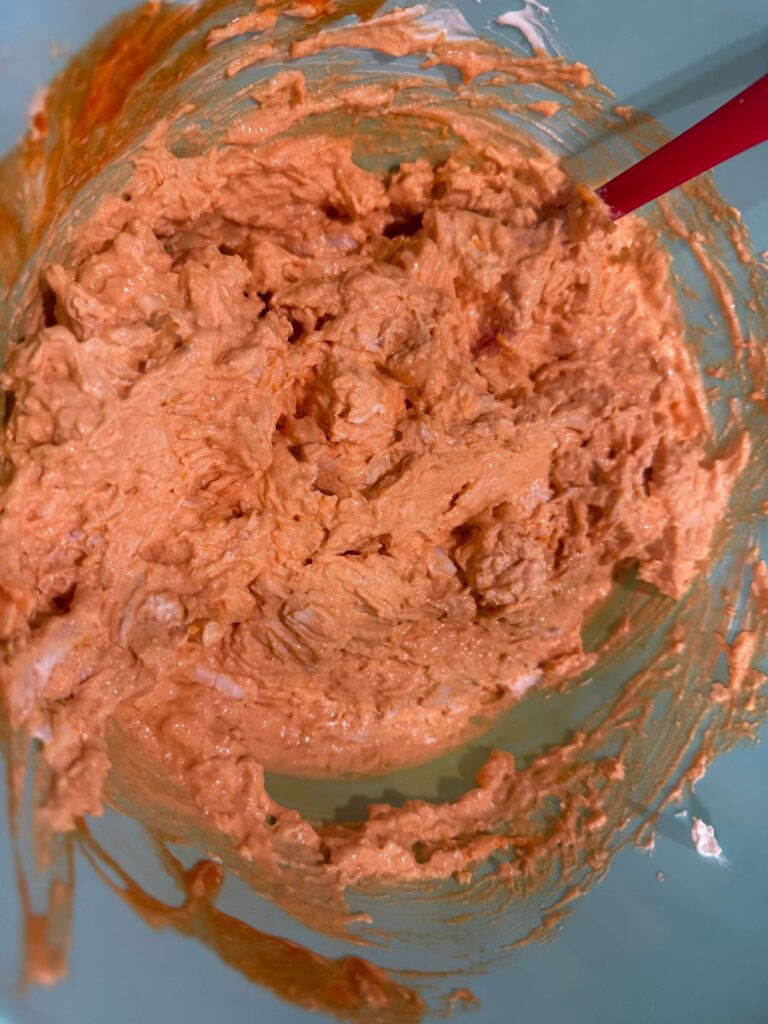
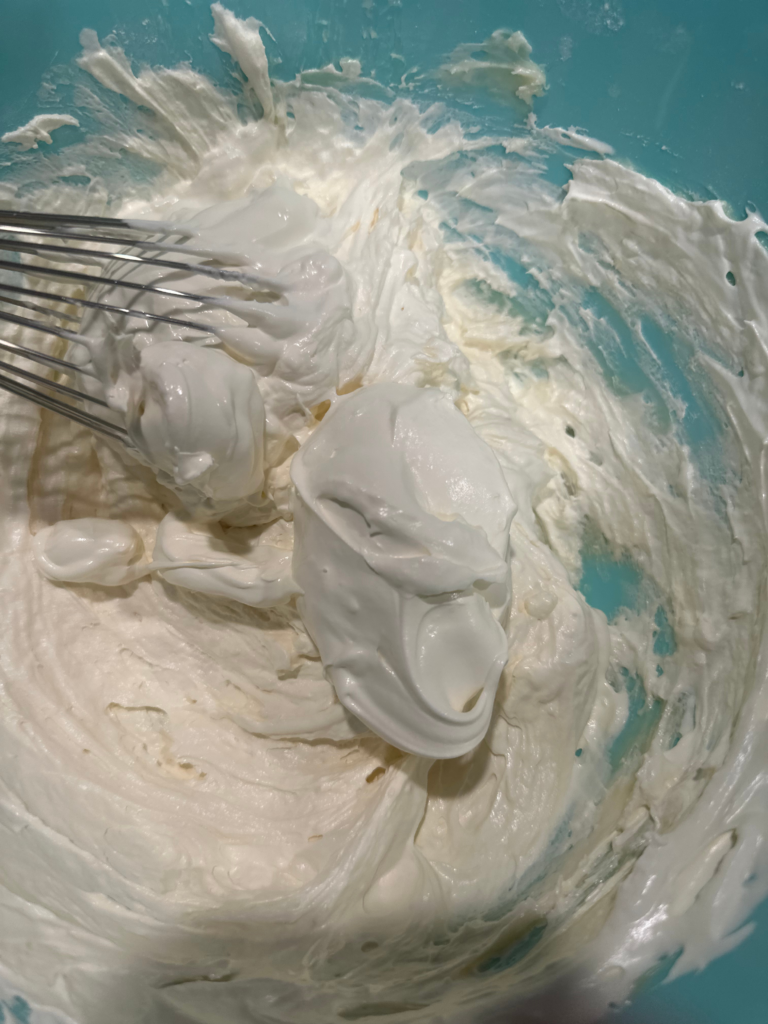
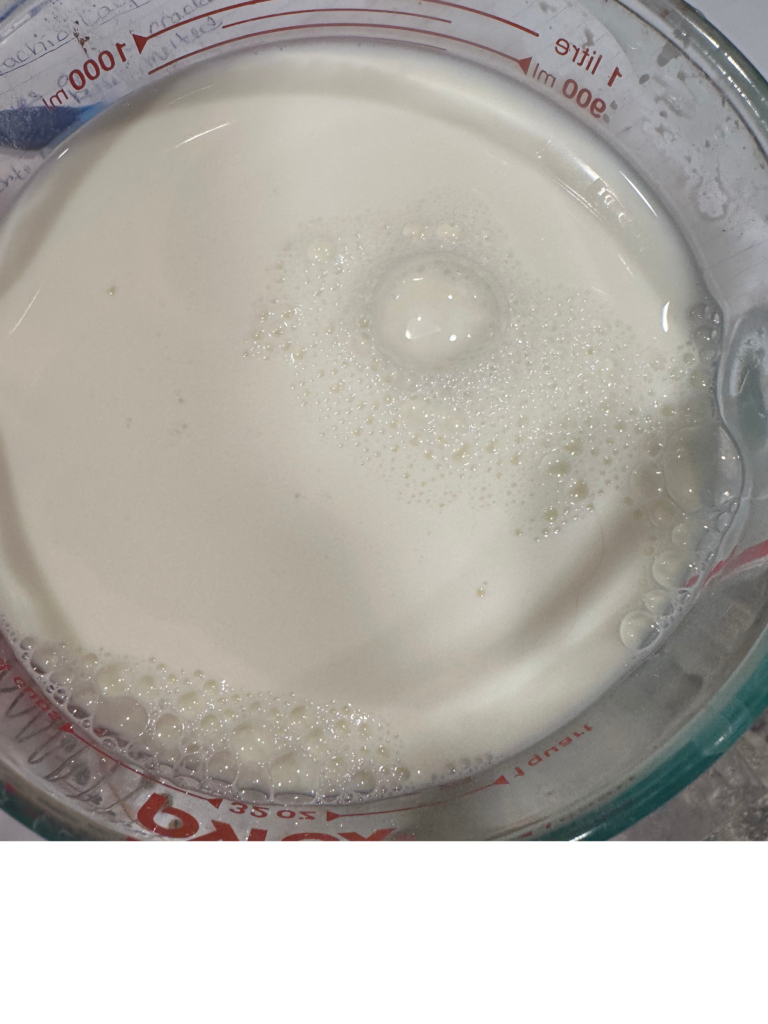
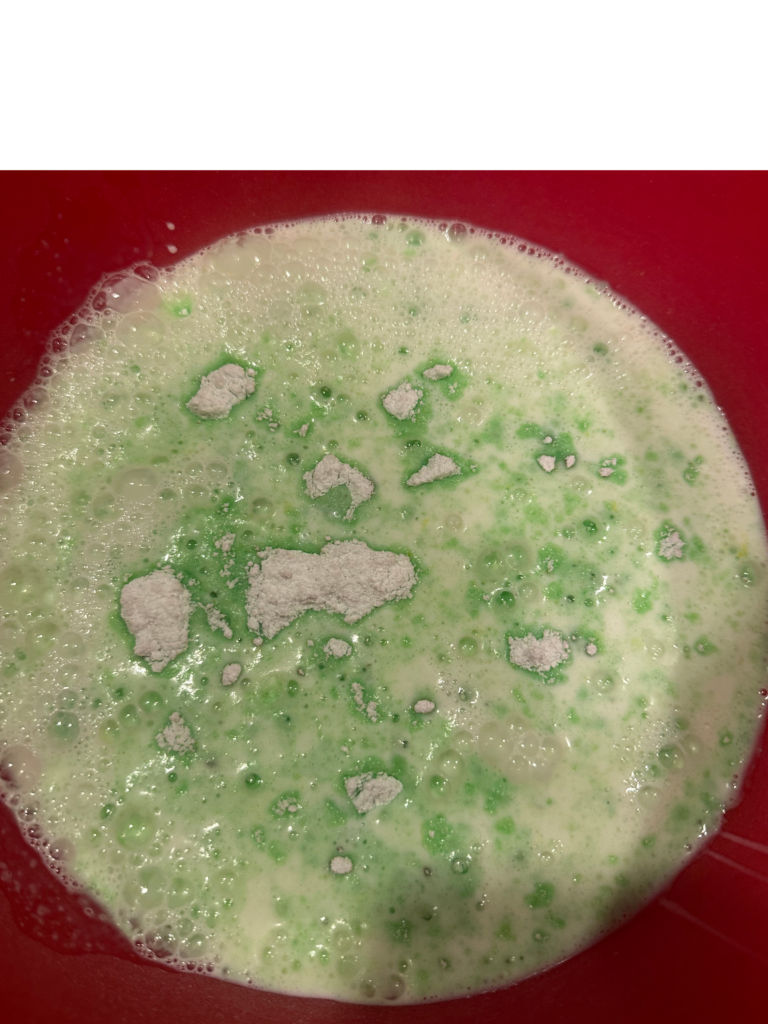
Add milk and half and half and whisk occasionally until mixture comes to a bubble.
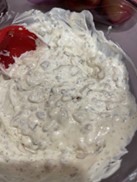
Remove from heat and stir in cheese.
Assemble the Dish
Grease a large baking dish.
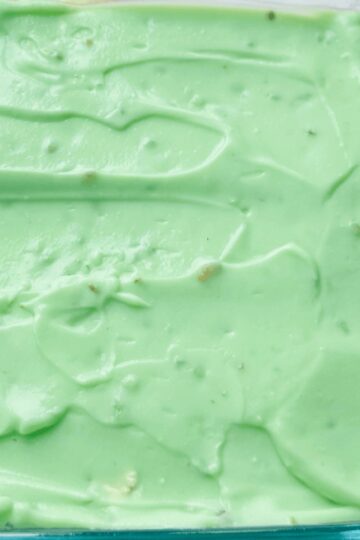
Pour some of the queso on the bottom of the pan (leaving the majority for the top).
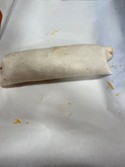
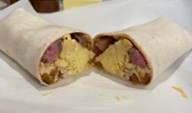
Take one tortilla and add a spoonful of the chicken mixture and sprinkle with cheese.
Roll up tortilla and place seam side down in the baking dish.
Repeat until all 12 tortillas have been used.
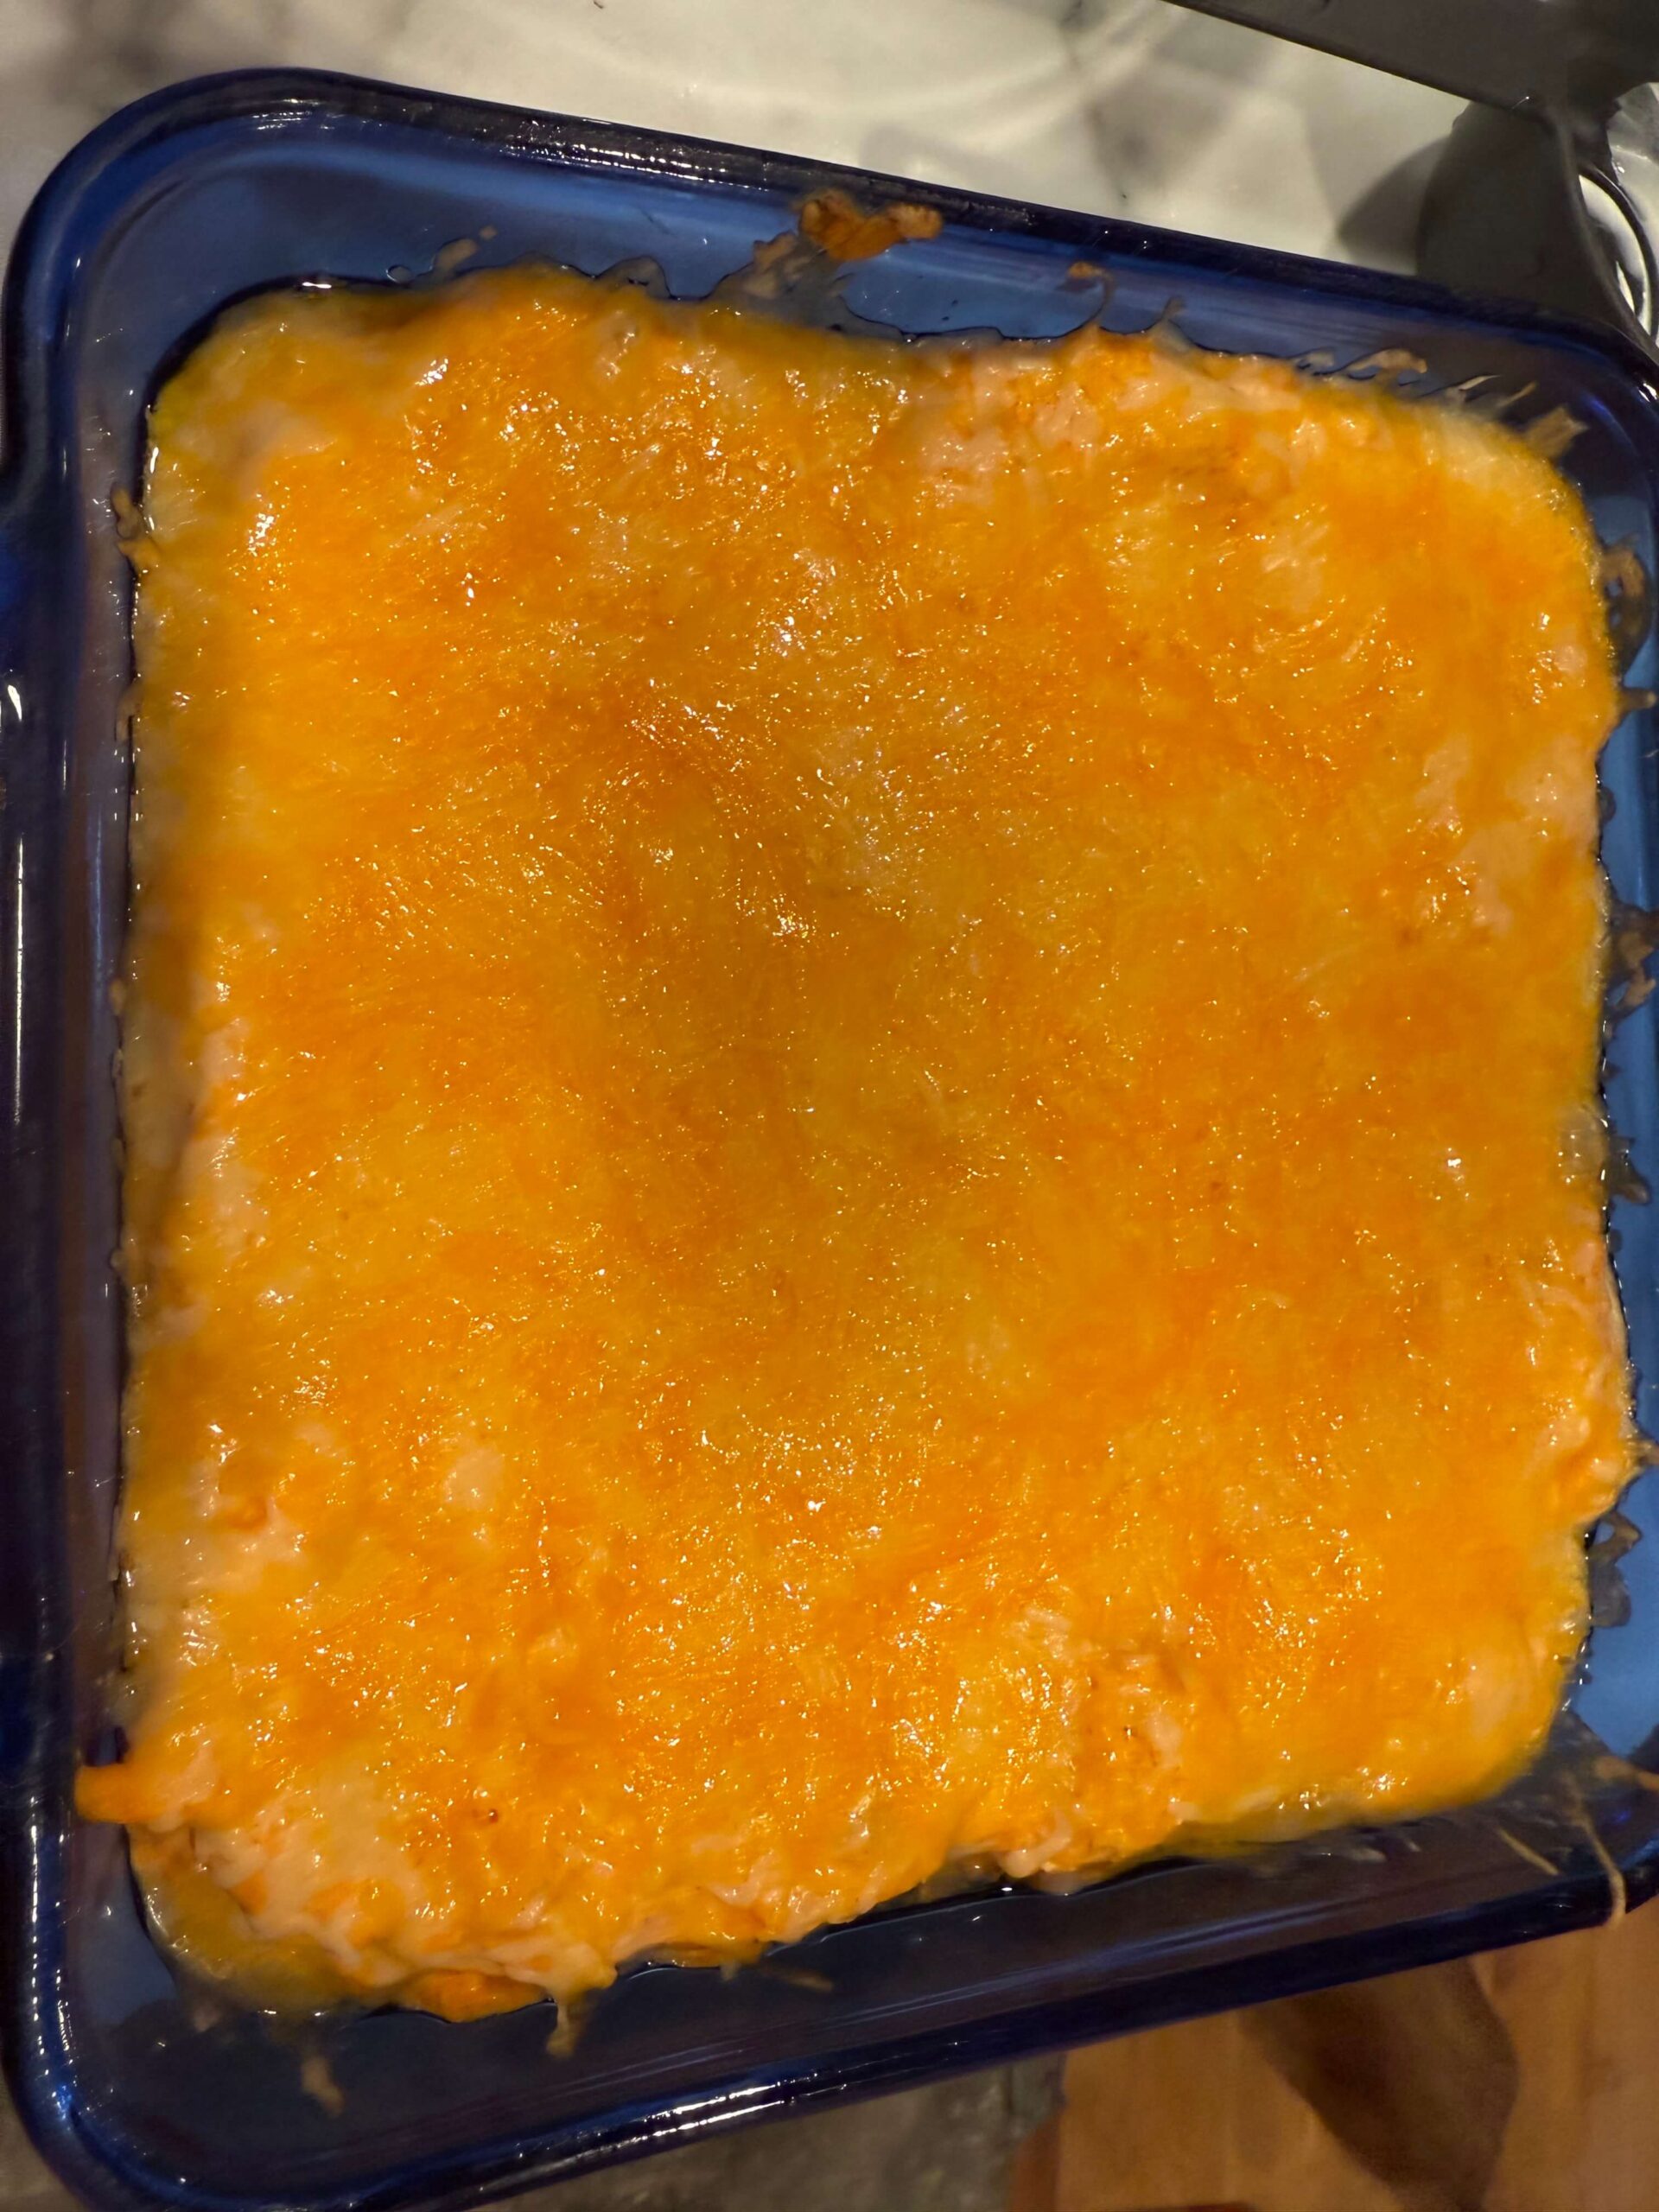
Pour remaining queso on top of enchiladas and top with the shredded Monterey jack cheese.
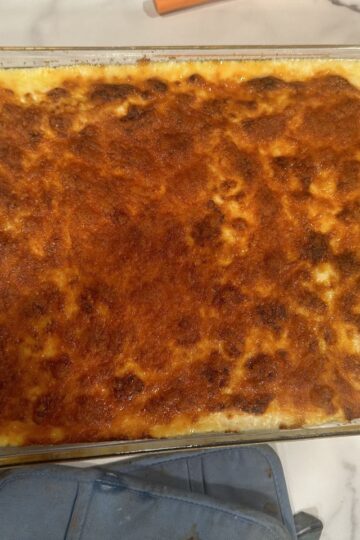
Place in oven for 10-15 minutes or until cheese is browned and bubbly.
Recipe Notes and Tips
Chicken Enchiladas
Ingredients
Chicken
- 8 boneless, skinless chicken thighs you can use breasts if you prefer
- 3 tbs cumin
- 1 tbs granulated garlic powder
- 1 teaspoon granulated onion powder
- 1 teaspoon coriander
- 1 teaspoon salt
- ½ teaspoon black pepper
- 4 tbs olive oil, divided
Enchiladas
- 1 onion, diced
- 1 4 oz can chopped green chiles
- 1 teaspoon granulated garlic powder
- 12 taco size flour tortillas
- 1 12 oz block monterey jack cheese, shredded
Queso
- 12 oz campesino cheese, shredded
- 6 oz monterey jack cheese, shredded
- 2 tbs butter
- 2 tbs all-purpose flour
- 4 cups milk
- 1 cup half and half
Instructions
- Preheat oven to 400 degrees Fahrenheit. Spray a 9x13 baking dish and drizzle two tablespoons of the olive oil in the pan.
Chicken
- Mix all seasonings together. Place chicken things upside down in pan and sprinkle with seasonings. Flip chicken over and sprinkle with remaining seasonings. Place in oven for about 40 minutes, until the internal temperature reaches 165 degrees Fahrenheit. When done, take out of oven. Once cool enough to handle, shred chicken and set aside in a large bowl.
- In a skillet drizzle in the remaining two tablespoons of olive oil and heat over medium-high heat. Add onion, season with salt and pepper, and granulated garlic powder, cook til onions are translucent. Add onions and green chiles to shredded chicken.
Queso
- Place butter in a medium sized saucepan over medium-high heat. Once melted stir in flour. Let cook for a couple minutes while stirring occasionally. Add milk and half and half and whisk occasionally until mixture comes to a bubble. Remove from heat and stir in cheese.
Assemble
- Grease a large baking dish. Pour some of the queso on the bottom of the pan (leaving the majority for the top). Take one tortilla and add a spoonful of the chicken mixture and sprinkle with cheese. Roll up tortilla and place seam side down in the baking dish. Repeat until all 12 tortillas have been used. Pour remaining queso on top of enchiladas and top with the shredded Monterey jack cheese. Place in oven for 10-15 minutes or until cheese is browned and bubbly.